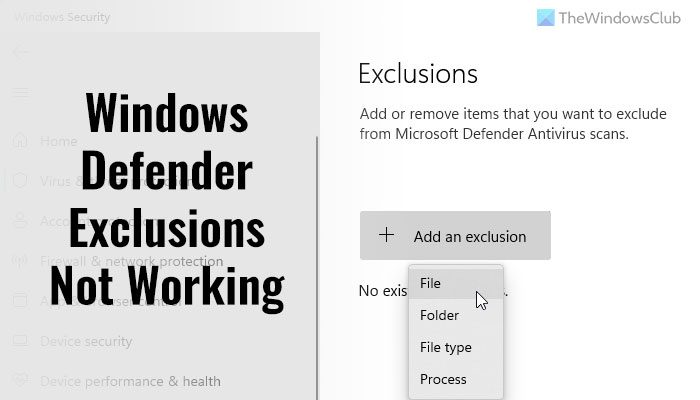
Windows Defender Exclusions not working
If Windows Defender Exclusions is not working, follow these steps: To learn more about these steps, continue reading.
1] Keep the item intact
When you add a file or process to the Exclusions list in Windows Security, it fetches the file by the path. For example, if the path of an image file named my-image.png is this: C:\Users\user-name\Desktop\my-image.png, and you added the file to the Exclusions list, you cannot rename the file or change the file path. If you change the file path, you need to update the list manually. Otherwise, Windows Security will scan the file again in the new location.
2] Verify Group Policy setting
If you have enabled any Group Policy setting to manage Windows Security on your computer, it is recommended to disable it immediately. At times, an incorrect setting could be responsible for this error. Therefore, follow these steps to verify all the Group Policy settings regarding Windows Security:
Press Win+R > type gpedit.msc > hit the Enter button.Navigate to this path: Computer Configuration > Administrative Templates > Windows Components > Microsoft Defender Antivirus > ExclusionsIf any setting is enabled, double-click on it.Choose the Not Configured option.Click the OK button.
Then, restart your computer and check if it resolves the issue or not.
3] Check Registry values
The same aforementioned settings could be changed using Registry Editor as well. If you have enabled any such setting via Windows Registry, you can follow these steps to verify:
Press Win+R > type regedit > click the OK button.Click the Yes button.Navigate to this path: HKEY_LOCAL_MACHINE\SOFTWARE\Policies\Microsoft\Windows Defender\ExclusionsIf you find any REG_DWORD value with Value data 1, double-click on it.Enter the Value data as 0.Click the OK button.Close all windows and restart your computer.
4] Restart Microsoft Defender Antivirus Service
To restart Microsoft Defender Antivirus Service, follow these steps:
Search for services in the Taskbar search box.Click on the individual search result.Double-click on the Microsoft Defender Antivirus Service.Click the Stop button.Click on the Start button.Click the OK button.
Note: If you cannot Stop or Start this service, there is no need to change anything here.
5] Allow Windows Defender to scan archive files
It is possible to allow or block Windows Security from scanning archived files. If you have enabled this setting, it might create a mess on your computer. Therefore, follow these steps to disable this setting in the Local Group Policy Editor:
Search for gpedit.msc and click on the search result.Navigate to this path: Computer Configuration > Administrative Templates > Windows Components > Microsoft defender Antivirus > ScanDouble-click on the Scan archive files setting.Choose the Not Configured option.Click the OK button.
After that, restart your computer and check if these solutions worked for you or not. Read: Defender Injector adds Add An Exclusion context menu item for Windows Defender
How do I add exclusions to Endpoint in Microsoft Defender?
To add a file or folder to the Exclusions list in Microsoft Defender or Windows Security, you can follow this article. For that, you need to go to the Virus & threat protection section and click on Add or remove exclusions. Then, you can choose the file or folder to the respective list.
How do I whitelist a program in Windows Defender?
To whitelist a program in Windows Defender, you need to add it to the Exclusions list. For that, open Windows Security, and switch to the Virus & threat protection tab. Then, click on the Add or remove exclusions option. From here, you can add the program to the list. Read: Windows Defender Start Actions not working.

