Add Signature to emails in Outlook
We have already seen how to create and add an email signature in Outlook. Let us briefly touch upon this procedure.
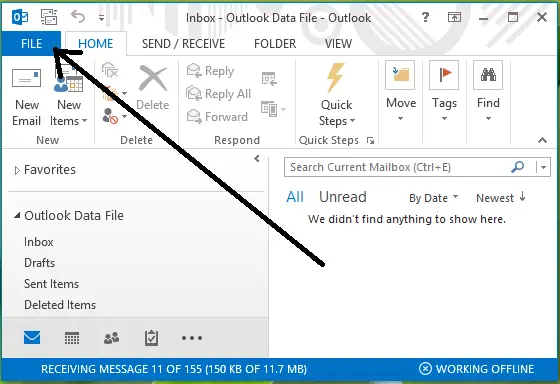
Open Outlook. Click FILE.
Then click Options in the left pane of the following window:
Moving on, in the Outlook Options window, click Mail in the left pane, then click Signatures in the right pane which is labeled as Create or modify signatures for messages. By clicking it, you should be able to add your custom signature.
However, we have seen that some users are unable to or cannot add a custom signature window by click Signatures option in the above-shown window. If you face this situation, you may want to see if the following helps you.
Unable To Add Signature in Outlook
Making mistakes while manipulating the registry could affect your system adversely. So be careful while editing registry entries, also it’s better to create a System Restore point before proceeding.
Press Windows Key + R combination, type put regedit in Run dialog box and hit Enter to open the Registry Editor.
Navigate here: For 32-bit installation: For 64-bit installation
In the right pane of LocalServer32 key, for both the (Default) and LocalServer32 named registry strings, click them one by one set their Value data to: For 32-bit Office installation on 32-bit Windows and for 64-bit Office installation on 64-bit Windows: For 32-bit Office installed on 64-bit Windows:
Once you’re done with this, close Registry Editor and reboot the machine, your problem should be fixed. NOTE: The path “Office 15” mentioned above will depend on your version of Office, so do check that first and make the necessary changes. That’s it! PS: Please also read the comments.