This program doesn’t run on Windows 10 or Windows 11
1] Update Windows and Drivers
Before you begin, make sure you have all the latest Windows Updates and Device Drivers installed. Also, make sure that you have downloaded and installed the latest version of the program from the developer’s website. If you are running custom-made software, you may not have this option.
2] Run software as administrator
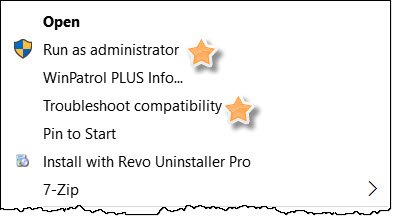
Right-click on the program executable file and select Run as administrator and see if it works.
3] Install required .NET version
Windows 11/10 ships with .NET 4.6 by default. Does your program require an older version of .NET Framework? If so, you can download that version from Microsoft Download Center and install it on your computer. Windows 11/10 comes with .NET 4.6 installed by default. You can check which version of .NET framework you have installed on your Windows PC?
4] Use Compatibility Mode
Again, right-click on the program executable file and from the context menu items available, select Properties. From the Compatibility tab, under Compatibility mode, check the box against Run this program in compatibility mode for – and from the drop-down menu select Windows 8, Windows 7 or as the case may be. Click on Apply and try now to make the program run in compatibility mode.
5] Run Program Compatibility Troubleshooter
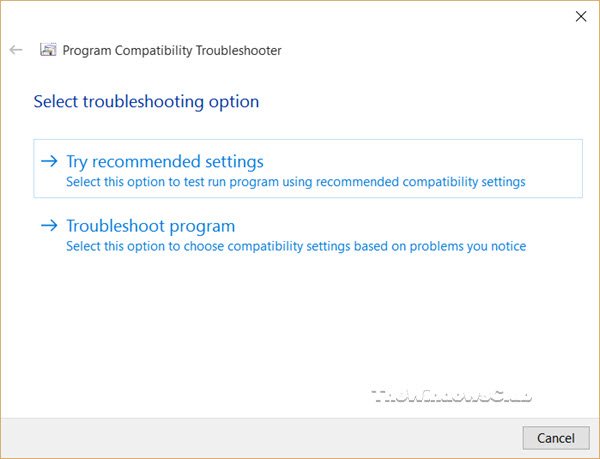
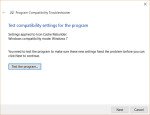
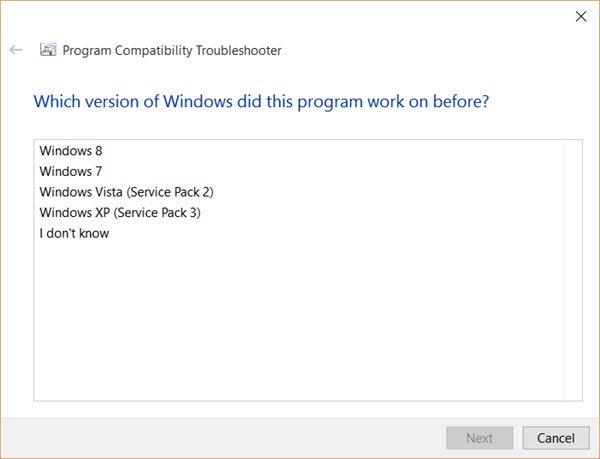
If it does not work, then from the context menu, you can select Troubleshoot compatibility. You will also see a similar option Run Compatibility troubleshooter option under the Properties box > Compatibility tab. Selecting either of these will open the Program Compatibility Troubleshooter.
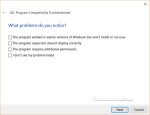
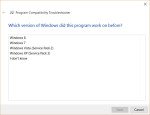
Follow the wizard to its completion, selecting the nature of the problem you are facing. You may click on the images to see their larger versions. It is quite simple! If you need to use it frequently, you can create a Program Compatibility Troubleshooter desktop shortcut. Read: Make old games and programs work on Windows 11/10.
